ESP32 Dallas Temperature Sensor
Reyt then;
Here is the sketch I am using with ESPHome to get my Esp32 with dual Dallas Temperature Sensors working in Home Assistant.
I am using this for Fish Tanks, one sensor in the main area, another in the filter/heater area.
This is based on the following guide https://esphome.io/components/sensor/dallas_temp.html
Big Thanks to Miles for the Sensor Library https://github.com/milesburton/Arduino-Temperature-Control-Library
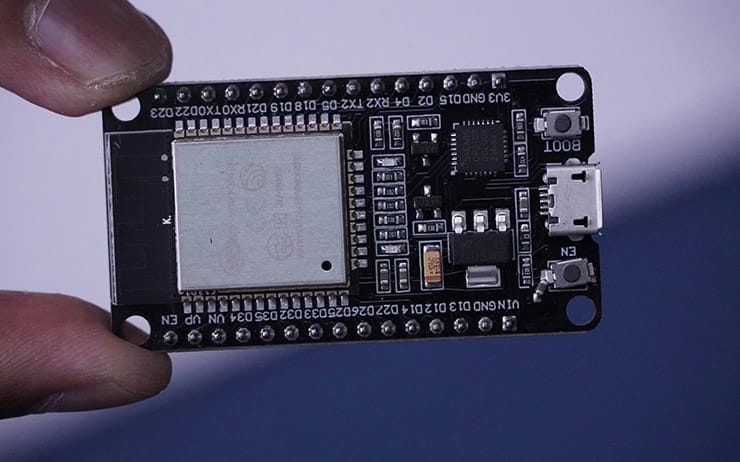
Please note below my sketch uses PIN 4 of the GPIO
Once flashed, watch the log and you will see your sensor addresses report back, which you can then replace and reflash the sketch to the chip.
substitutions:
  name: esphome-web-number
  friendly_name: Hall Aquarium Temperature

esphome:
  name: ${name}
  friendly_name: ${friendly_name}
  name_add_mac_suffix: false
  project:
    name: esphome.web
    version: '1.0'

esp32:
  board: esp32dev
  framework:
    type: arduino

one_wire:
  - platform: gpio
    pin: GPIO4

sensor:
  - platform: dallas_temp
    address: 0x1a0923b08a307228
    name: "Sensor Name Temperature"
  - platform: dallas_temp
    address: 0xdb0923b0a92e1d28
    name: "Sensor Name Temperature"

# Enable logging
logger:

# Enable Home Assistant API
api:

# Allow Over-The-Air updates
ota:
  - platform: esphome

# Allow provisioning Wi-Fi via serial
improv_serial:

wifi:
  ssid: XXXX
  password: XXXX

captive_portal:

dashboard_import:
  package_import_url: github://esphome/example-configs/esphome-web/esp32.yaml@main
  import_full_config: true

# Sets up Bluetooth LE (Only on ESP32) to allow the user
# to provision wifi credentials to the device.
esp32_improv:
  authorizer: none

# To have a "next url" for improv serial
web_server: